Releasing into an environment
One of the most useful aspects of having your build mapped as a pipeline, is being able to know exactly what is in a particular environment. For example, you might have a User Acceptance Testing environment into which you want GoCD to automatically deploy your binary. Due to process restriction within your company, you might want to manually install a binary yourself, but have GoCD still retain the information of what is currently released.
Example usages
Automatically deploy to UAT
For this example, we’ll assume that there is already an ant task defined in your build that will take a binary and deploy it to your environment. A separate task will verify the install was successful. If it is not, a task will run to rollback the deployment. We will also assume that earlier in the pipeline there is a dist stage with a create-installers job that will have already created the binary for us to use.
- Add a new stage named UAT with a job named deploy
- Ensure that the UAT stage is manual
- Ensure the following task block is in the deploy job configuration
<tasks>
  <fetchartifact stage="dist" job="create-installers" srcdir="pkg" dest="installers" />
  <ant target="deploy_to_uat" />
  <ant target="verify_uat_works_correctly" />
  <ant target="rollback_to_previous_install_in_uat">
    <runif status="failed" />
  </ant>
</tasks>
When you are ready to deploy something into the UAT environment…
- Navigate to the pipeline history page
- Find the check-in you want to deploy
- Click on the manual transition into the UAT stage

- When the deploy is successful, the stage will be green and the UAT environment will contain the selected check-in

- When the deploy fails for some reason, the stage will be red and the UAT environment will contain the original check-in

Manually deploy to production
For this example, we’ll assume that there is a known way to rollback to a previous installation. We will also assume that earlier in the pipeline there is a dist stage with a create-installers job that will have already created the binary for us to use.
- Add a new stage named production with a job named deploy
- Ensure that the production stage is manual
- Ensure there is no task block in the deploy job configuration
When you are ready to deploy something into the production environment…
- Navigate to the pipeline history page
- Find the check-in you want to deploy
- Click on the details link of the dist stage

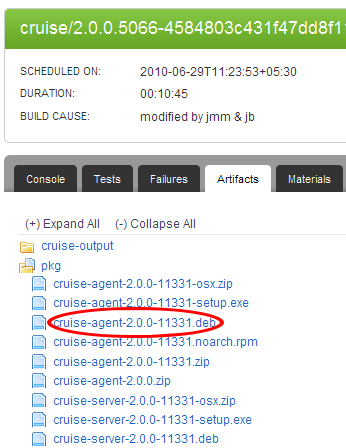
- Download the installer binary in the artifacts tab

- Manually install the binary into production
- If there are issues, manually rollback to the last known good installation
- If everything seems to be working correctly, click on the manual transition into the production stage
